Friday, August 27, 2010

Getting Tense, or MacGyvering the Katie


I'm in Haliburton this week, hacking my way through the classroom part of the OHS Handspinning Certificate Year 3.

Those of you who know my spinning know my only wheel is a Bosworth JourneyWheel, and know that I love it - it's an exquisite piece of art and engineering, and an incredible tool. There is only one aspect of the machine I would consider, well, slightly sub-optimal, and that is the bobbin design. There are only two ways in which I would articulate this, one of which has not bothered me much so far. The first is the bobbin size. They are small, it's a challenge to pack on more than 50 grams of yarn. This is OK, I knew this when I bought it, and I'm not a production spinner (yet!). I'm content to make 50-60 gram skeins of yarn, for that's enough for one sock and a common size in commercial yarn balls.

The second shortcoming, though, wasn't apparent until I got the wheel and has only become an issue, really, since starting the OHS course, but it needs some redress. The bobbins cannot be tensioned for plying. I know Mr. Bosworth believes they don't need to be, but I respectfully disagree. There is some frictional "drag" on the bobbin when it just rests on a Lazy Kate, however, this is not enough if trying to ply high-energy singles which will ZING off the Kate at a first pull of take-up then coil back on themselves.

As we are required in this year's class to work exercises in 3-ply yarns with tension on the bobbins, I'm struggling with this. The bobbins needed more resistance, but it's not possible to do so with tension. So, I turned to increasing the friction between the bobbin end and the surface of the Kate. I tried some different materials, and now have a couple of different options for this. Here's the how-to for what I ended up with.

Materials had to be sourced from what there was, but a trip to a grocery mart and dollar store procured a few possibly helpful substances: non-slip shelf liner, a thin plastic cutting mat or placemat, and a variety pack of little stick-on feet like you'd put under a plant pot or something to keep it from marking surfaces.


I used my bobbin as a template and traced and cut out circles of the shelf liner, and the plastic sheet.


The shelf liner circles alone provided TOO MUCH resistance, and the bobbins could not spin - somewhat expected. Note in the above picture that the little stick-on feet came in two sizes in each of two materials - cork, and a non-slip rubber similar to the shelf liner.

I cut plastic disks, and tried both sizes of both types of feet on either side of a disk.


After trying each version out for spin and drag, I felt that the smaller rubber feet on one side, with the larger cork on the other, provided the best resistance for the 3-plying I was doing this week. Note that the disks can be flipped, and because of the type of Lazy Kate I have, they will drag differently depending on which side is against the bobbin and which against the Kate.


Here's a better view of how it fits. Black dots up - less drag, I think, as the black will stick to the bobbin and the cork will slip, with some friction on the Kate. Cork dots up, the black will stick to the Kate, but not as much surface is in contact, and the cork will have all its surface in contact with the bobbin.

Or maybe these work out the same - I obviously haven't calculated all the physics of it.


Here's the final set up with one bobbin. Still not perfect - for example, tension in spinning changes dynamically, and there's no way to "adjust" these. They can still tangle, or if the drag is too much, the Kate comes flying forward. However, it did the trick for now, and I have another idea in mind for a mod, though it's going to require some woodwork to do it.

Off to adequately ply some homework, for now.

Sunday, July 25, 2010

Batts in the Shop!

So, it's been a bit of a breather this weekend - not quite sure what to do with myself, it's been a while since I had a real "downtime", and two days in a row, even!

I celebrated but updating the Etsy shop (look right) with my latest creations you saw previewed here last post.  Half a dozen batts are up, some more have been sent out to local spinners for testing, and there's more to do with the carder.  I'll be mocking up a banner for next month's Ravelry listing shortly.

Here's a couple more creations.  This is another batt now up in the shop:

Purple-Black Batt
It's a little hard to see the colour subtlety there - it's a batt of black Merino and purple-dyed Romney locks, lovely and subtle. I have more of this black merino, so look for some more dark & jeweled blends.

Here's a little tease, and this one's NOT going to make it into the shop:

Icy Polwarth

Close Up - looks like marble

That was a one-of-a-kind, took every scrap of some long-staple Polwarth leftovers, to which was added little drips-and-drabs of seacell in various pale, cool colours, and then the tiniest dusting of Angelina for sparkle.  It's not going up in the shop 'cuz it promptly went here:

Into the drink?
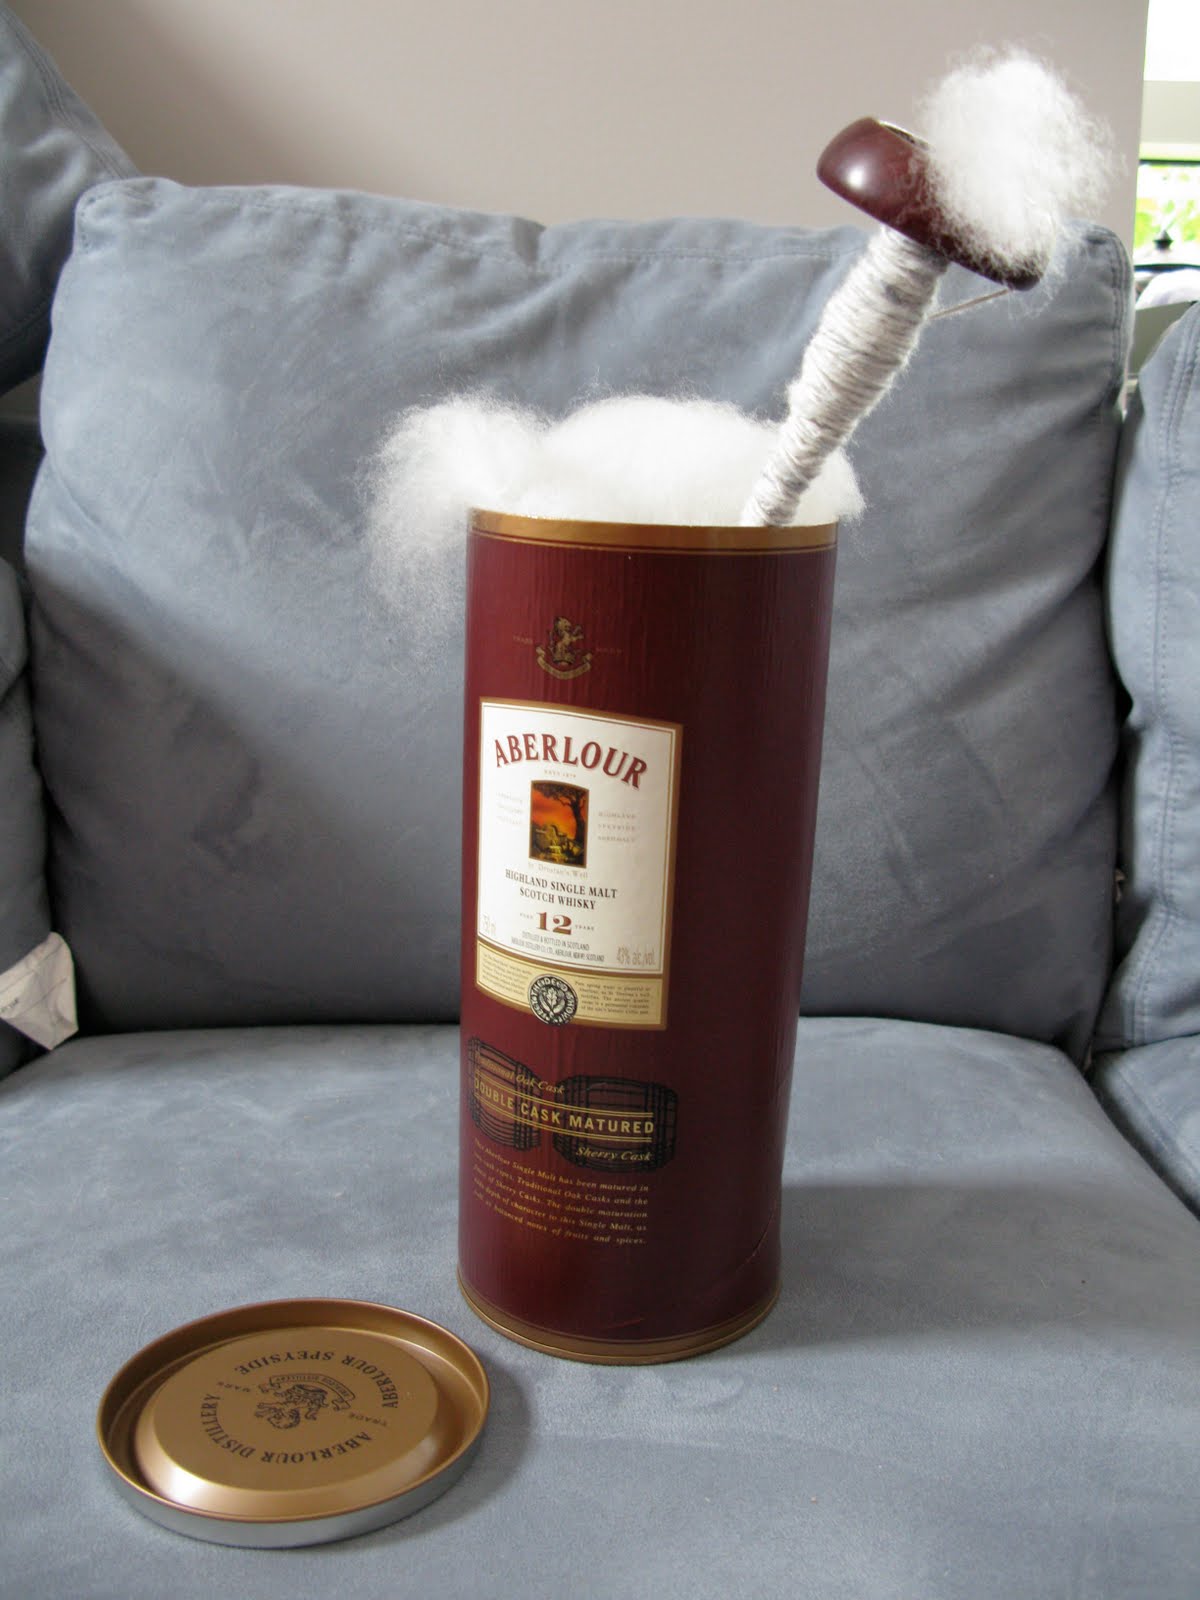
It's busy with my Purpleheart Bosworth Midi - I'm working it into a worsted-weight single for some fluffy, warm, winter yarn.  The Scotch container (and similar wine/liquor bottle gift tubes) turned out to be a perfect spindle project case - I'm probably going to knit some bag handles for them, if I ever get through my current heap of projects.


Tuesday, July 6, 2010

Lofty's Going Batty

Popping in here for another "It's about time!" post.  This one - it's about time for BATTS!

A year ago I invested in a very nice Pat Greene drum carder.  The small model - Deb's Delicate Deluxe, hand-turned.  It arrived, and I had a plan to use it at May workshop on carding/blending which got cancelled due to low enrollment - and there it has sat, for a year and more.

This weekend, I had a few friends over, put out some snacks, and organized a kick in the butt for myself.  The drum carder, which I have now named DeeDee, was duly christened.  Here's the first production run!

Batt(s) 1:  Superwash merino mill ends, handpainted in a mesh bag and now carded into this lovely, streaky, "Beachy" watercolour-way:

Those are in fact the same dye lot - the color layering pulled out differently.  A spinner could be quite adventurous in how they work up, mix'n'match, or keep separate and coordinate.

Batt(s) The Second:  A blend of the SW merino mill ends and some lovely soft Romeny lamb locks.  I have dyed bagfuls of each, and when it came to blending picked adjacent colours (blue-green/green, yellow-green/green,violet/magenta-red) to make more monochrome but beautifully rich, heathered batts.


Batt(s) the Third:  Using the same adjacent-colour blending, these last two are 100% Romney lamb.  The dyes were bright jewel-tones, but on gray fleece.  Made some lovely toned colours.


I have to show you a close-up of the last one: 


I like that one enough that it might not make it into the Etsy shop.

More fluffy adventures are to come!  There may need to be more dyeing, but I've begun rootling the fluff stash too for some little add-in goodies like seacell/silk fibres, angelina (sparkles!), and some lovely blending bits of mohair, alpaca, and llama.


Monday, June 21, 2010

Socks on Circulars 101 - Lofty Fibres class coming up

And isn't it about time?!?!??

This coming Saturday, June 26th, I'm looking forward to getting back in my yarney groove, and hopefully corrupting some new soles for my next offering of handknit sock teaching.  I'll be offering my basic Socks on Circulars at All Strung Out in Guelph.  Class is a 6-hour, two part workshop, the first part 10 am to 1 pm this Saturday, and part 2 at the same time, July 10th.  You have two weeks between for lots of practice and progress on your socks!  Head over to the link above, or call the shop at 519-772-6807 to book a spot (if any are left!  If not, be sure to leave your name for the next offering.)


The class covers a basic architecture for a toe-up sock.  Knitting from the toe up has many advantages.  For one - no risk of running out of yarn with one toe left to go!  You can knit as long a leg as you like, being sure, as your foot is already done, you'll have enough yarn (a shorter sock still works - a toe-less sock maybe not!) There are no stitches to pick up on the heel flap, no uneven sides.  We'll cover a straightforward formula for gusset increases that works well for most feet out there, and discuss a few modifications for when it doesn't.


The class is aimed at the ambitious beginner to intermediate knitter, whether you've knit a sock before or not.  Those who have knit socks may wish to turn things a new way up, and those who haven't - well, this is a great method to start.


A pattern "recipe" as well as book and pattern references will be provided at the class.  I don't teach to one specific pattern, as this is a class about structure and technique, which will enable the student to pick up any toe-up sock pattern and work from these basics.  You're welcome to bring books and patterns if you'd like to discuss, or try them out.


Required Materials:

Yarn: 40-50 grams of DK to worsted weight yarn, in solid, light colours - leftovers are fine! This is for practice/test exercises.

Needles: 3 mm to 4 mm needles
 - 2 circulars, 16 to 24 inch, OR
 - 1 long circular, 32 to 36 inch
 - for test exercises, can also use straights or two DPNs as straights (heel turn practice)
Clip-on stitch markers
Scrap yarn or string for holding stitches if needed
Writing materials for notes.

Nice to have: (we can improvise or share if students do not have everything):
Crochet hook or "stitch saver"
Darning needle
Small scissors or yarn cutter

Optional:
Finer sock yarn, for those who wish to start a kids or full-size sock.
Extra needles of the size required for your DK/Worsted yarn
Finer needles for your (optional) sock yarn
Stitch patterns, sock patterns, or sock books you wish to discuss.

Required knowledge: The workshop assumes the participant knows a knit stitch, purl stitch, and understands the idea of an increase or decrease (lifted increase, kf&b, ssk, k2tog).  A very enthusiastic new knitter could cover these basics shortly before the class.

Tuesday, January 26, 2010

Staying Warm and Fuzzy in the Winter

Well, I've finally managed.  Look over there, on the right, the Etsy Mini....

Yep, I have some fibre up.  New to the Etsy store (as wholesale has been picking up all the fibre I could dye so far!) - handspinning fibre braids and a neat new twist - the Twisted Pairs.


Twisted Pairs are a full hank of sock yarn, combined with a half-braid of handspinning fibre, dyed in the exact same lot so they'll match.  Why?  Why not?  Thrummed mittens/socks.  Socks with a handspun & embellished cuff, or toe/heel/cuff.  A shawl with handspun trim or accessories.  And though the current stock is all superwash BFL, I'll consider a feltable fibre for embellisment in future lots, what do you think?

Part 2 of today's update is someone's mistake, and someone else's good fortune.  With my last shipment of stock, I ordered a few pounds of a wool/seacell blend which, unfortunately, does not seem to resemble such a blend, much.  So - it's on sale!  $16 (braids are regular $18-$25) .  It's definitely wool, superwash, and lovely and bouncy, combed top which drafts like a dream.  I just don't know EXACTLY what blend it is.  So - take a chance, make something new.


Monday, December 28, 2009

Warm and Woolly for the Holidays!

This fibre blog business is slow, mainly because all my other fibre pursuits are keeping me busy.

However, I got out the pots, and the inventory from the closet, and did a bit of experimenting yesterday.  Now, if you followed me here from Twitter or Ravelry, here's the buy off the blog deal.  I've not divided, wrapped, or done the proper glamour-shots and retouching yet, but if you save me the trouble of making things pretty on Etsy, you save a bit.

If you like any of the below (shots are in pairs, one with flash, one late-afternoon winter light), send me a note at LoftyFibres AT gmail DOT youknowtherest... and tell me what you'd like.  The deal is $20 Canadian per 4oz braid, + $5 shipping (any amount).  I will send you a PayPal invoice, so please use a valid email.  Local pickup can save the shipping.  Usual pricing would be $20-$25 in US funds on Etsy.

Please note:  The fibre pictured is in 8 ounce/225 gram braids, approximately.  They are usually divided into 4 oz braids, let me know if you want all of one braid (2 x 4 oz = $40 Cdn).

Blue Face Leicester:  WaterGreens - Water Greens has been purchased as of about 7:45 tonight! Natural light:


Camera Flash:
Blue Face Leicester:  Rusty Paint Bucket.  Natural Light:

Camera Flash:

Blue Face Leicester, Copper and Steel.  Natural Light:

And Camera Flash:
Blue Face Leicester, Early Winter Sunset, natural light.
And camera flash:
By the way, my BFL is a superwash-treated fibre.

Here's the last couple.   70% SW Merino, 30% Mulberry silk, Winter Seas.  Update:  Apologies, Winter Seas found a new home about 10 minutes after posting!
Natural light:

And with the flash:
Finally, these last 4 shots are the same bump of Merino-Silk.  It's a really speckled, random dye so I took two different sides of it.  Icy Splash, natural light:


And with the flash:


Sunday, November 1, 2009

New Inventory, Tidying Up, Small Milestones

Well, it's been a busy stretch, and not much has turned up in the Spinning sense.

If you look over there, ---> though, you'll see a few updates in the Etsy ticker.  More to come in the next few days.

Finally, while not a knitting/spinning thing, I FINALLY got the binding on a quilt I started 2.5 years ago, that was professionally quilted almost a year ago. Procrastination, anyone?  But "Sprout's Disaster", the working title for my Tile Tango quilt, is almost on the bed.  Or, well, it IS on the bed, but folded in a heap right now until I finish stitching the binding to the back.  That has to be done by hand, it just doesn't look right if you punch it all down by machine.

Here's what it used to look like:


Better photo to come after we get some daylight on it.